
How to set up an IMAP account in Outlook without existing accounts
This guide is for adding accounts to Outlook when you don't already have any accounts, if you already have some accounts in Outlook and just want to add this alongside, please follow these instructions instead.
To begin, you should have been provided with the following settings:
Username: (This will be your email address)
Password: (This should be a secure password)
Server Hostname: (This will generally be something.allsimple.net)
The following gif shows the process, you can click to stop it and then click again to restart it at any point, if you need written instructions please scroll past the gif and continue reading.
Here are instructions if you'd prefer to follow those, you can click on all of the images and they will open in a new tab:
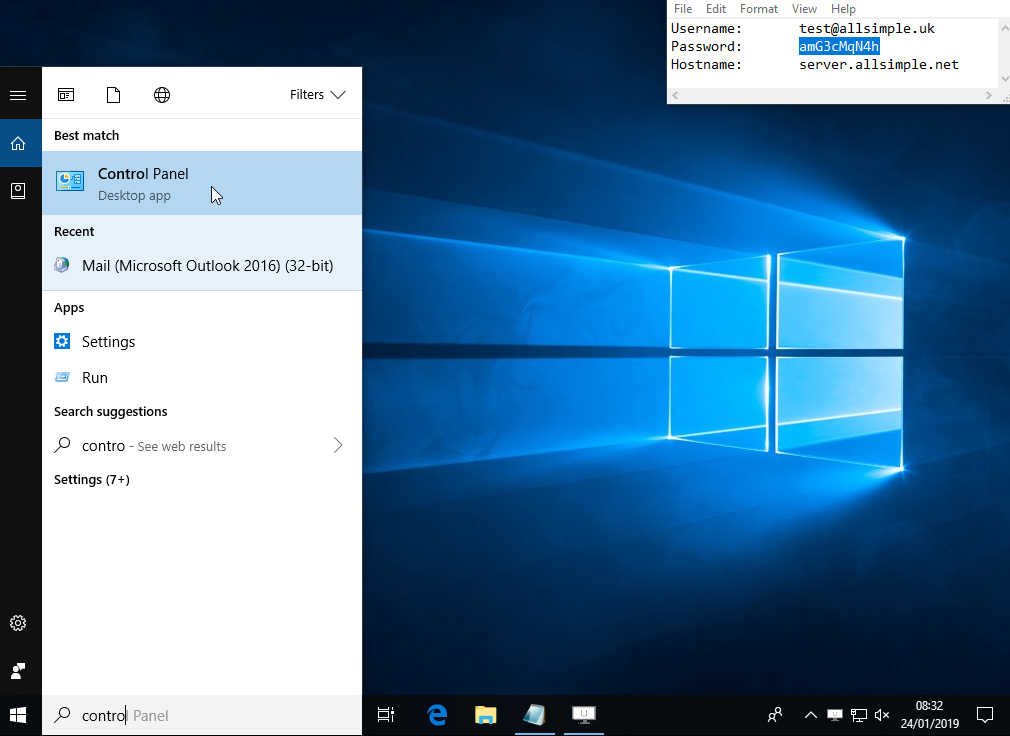
Step 1:
Open the control panel, you can do this by clicking on the search box and starting to type control panel and it should appear in the list.
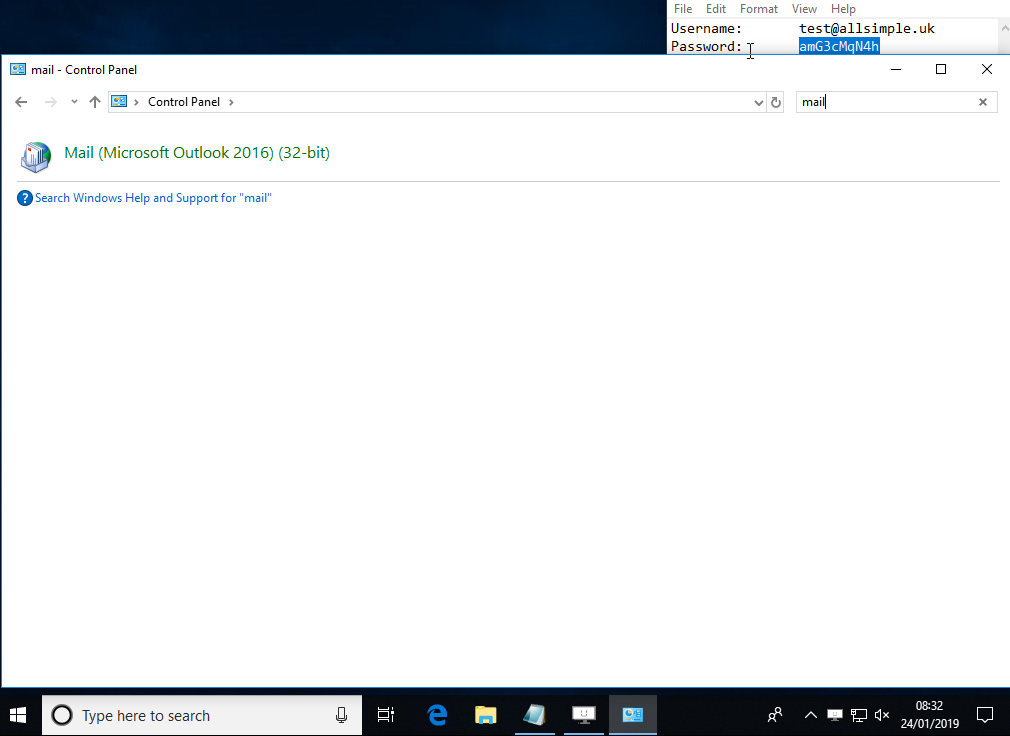
Step 2:
Find and open the settings for Mail, the best way to do this is to search in the top right of the window for mail.
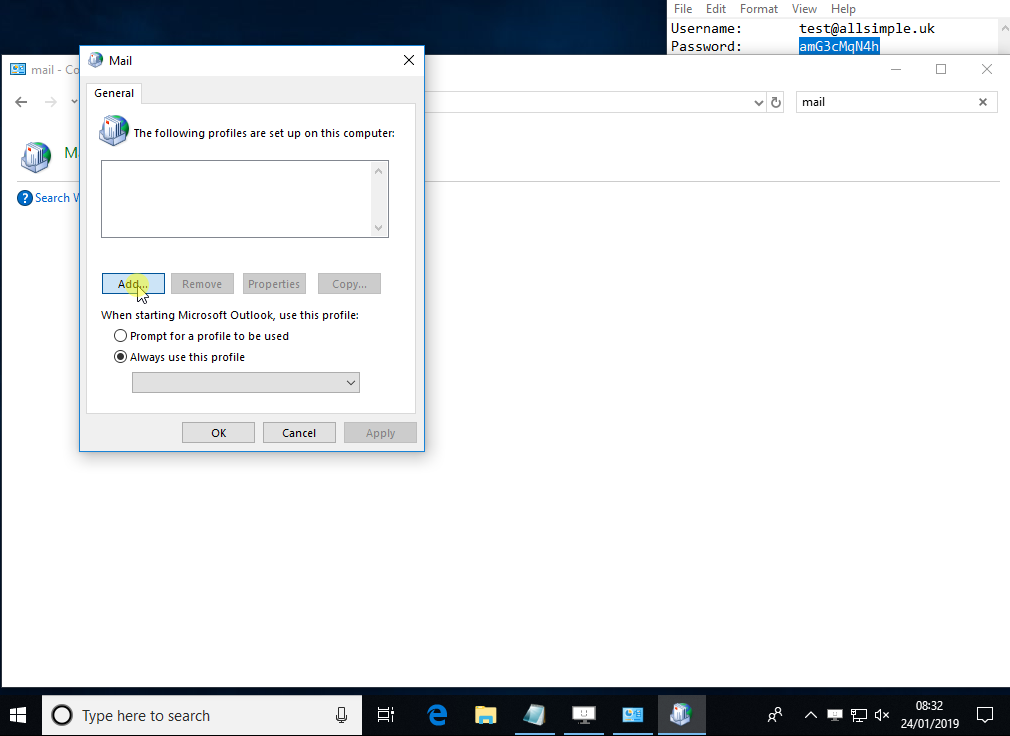
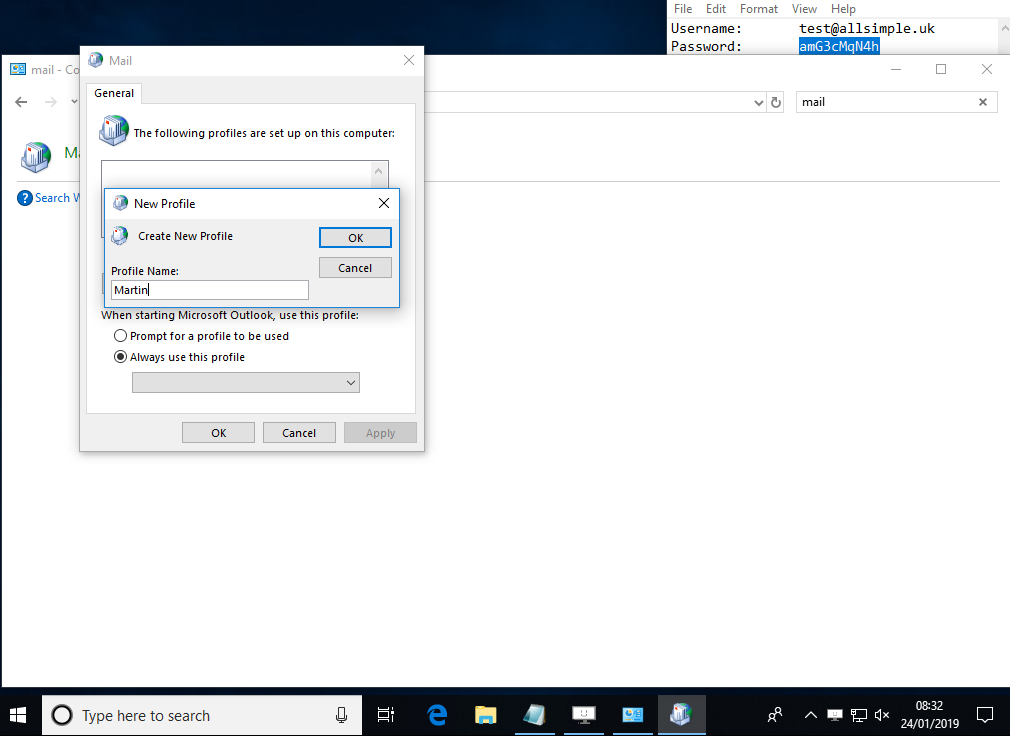
Step 3:
If you don't have a profile then you'll need to click Add on the window that appears, if one does exist you can click on it and select properties then continue to step 5.
Step 4:
Enter a name for the profile in the box that appears, this won't appear anywhere so you can use what you'd like and click OK.
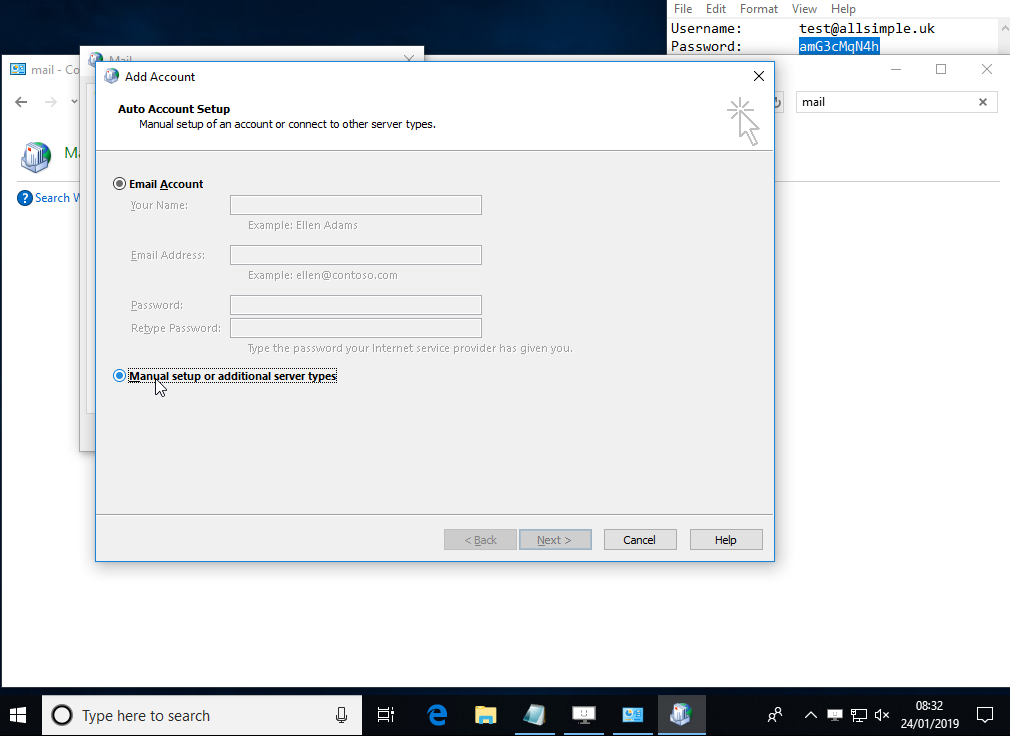
Step 5:
Now the Add Account window should appear asking for your details, instead of using the Email Account option, change the radio button to Manual setup or additional server types and click Next.
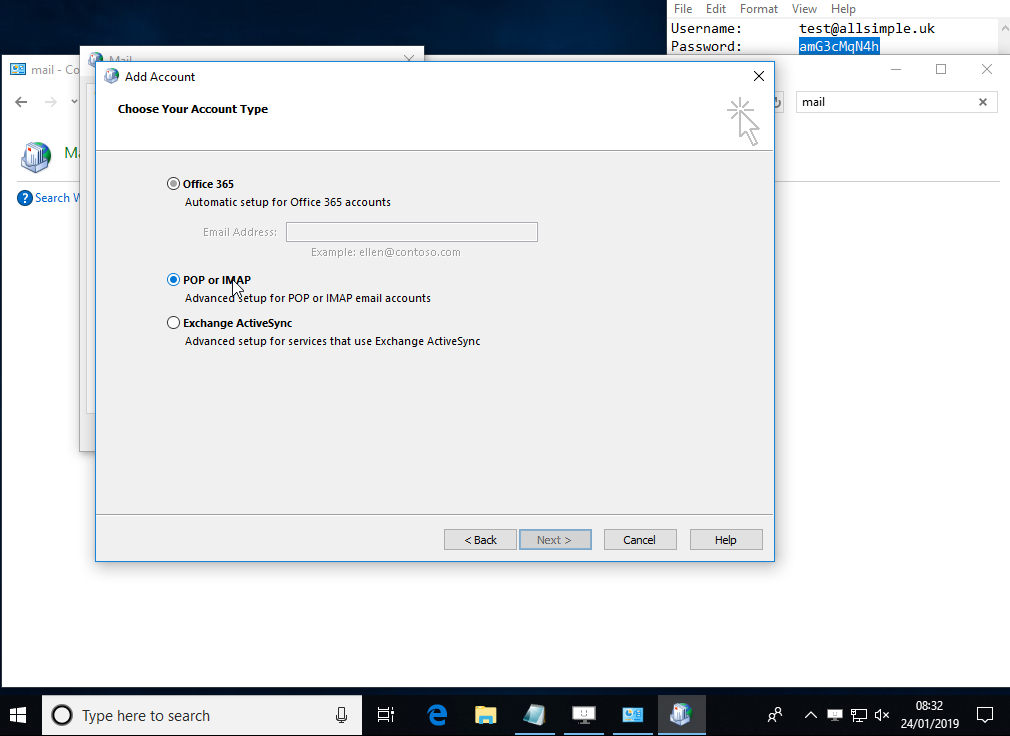
Step 6:
On this screen choose POP or IMAP as the account type and then click Next.
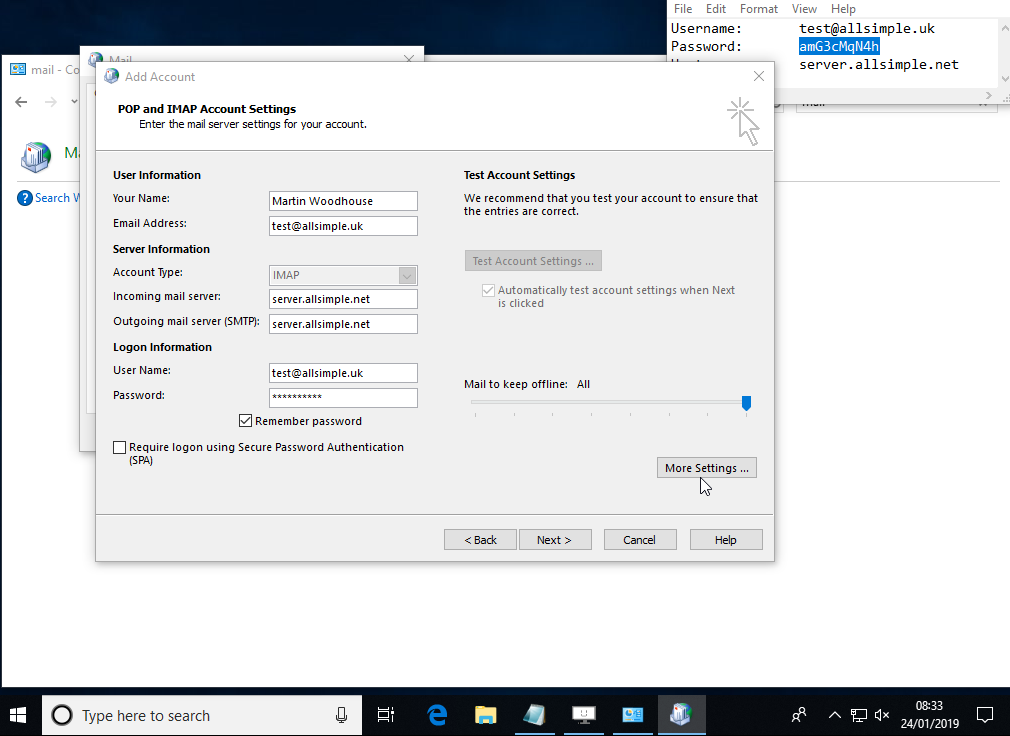
Step 7:
Now you'll need to enter your details, we would recommend using IMAP rather than POP3 as the account type, this leaves the mail on the server and allows you to share the mailbox across multiple devices. You should enter the hostname you were provided in both the Incoming mail server and Outgoing mail server boxes, the username will be your email address.

Step 8:
Your settings should now look something like this, you should now click on the More Settings button.
Step 9:
On the window that appears go to the Outgoing Server tab and tick the box "My outgoing server (SMTP) requires authentication" and then click OK and next on the previous window.

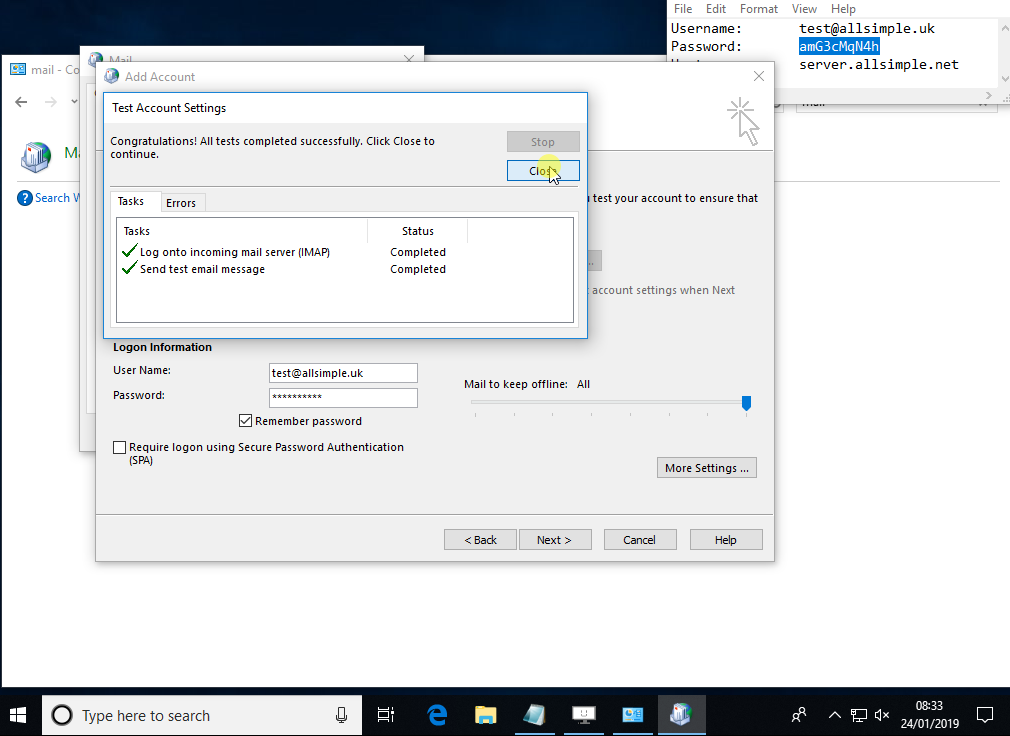
Step 10:
The server will now test the settings and should succeed, you should get the window below and be able to click Close.
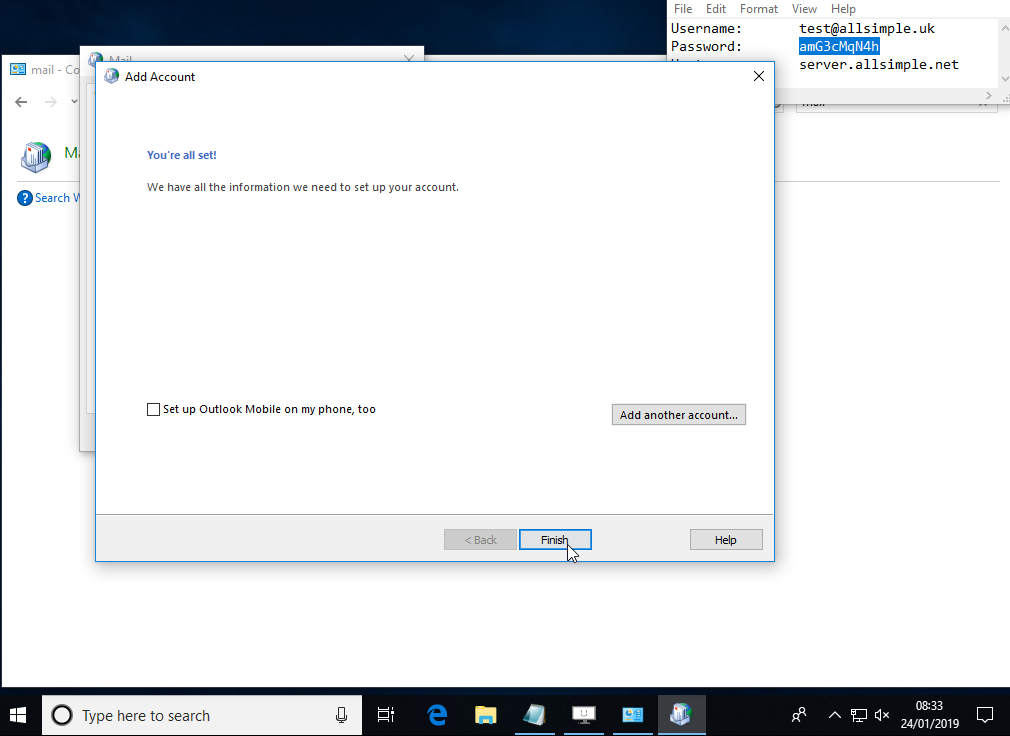
Step 10:
You should now get a window telling you that you are all set, you can untick the set up outlook mobile on my phone, too and click finish, you can then open Outlook in the normal way and start using your email.
If you have any questions or problems with these instructions, please open contact us and we will provide further assistance.